

Email is an essential part of every individual or business workflow. They help convey our ideas, purpose, or objectives to our customers. Hence, crafting and having a compelling email that communicates its purpose is essential. Poorly designed templates, poor development experience, inconsistencies with email clients and browsers, long creation time, etc., are some of the problems experienced with email development.
This is why having a tool that can solve all these problems and simultaneously be easy to use is needed in the email development space. React Email has solved that problem by allowing us to modernly develop and build email templates using a technology we’re already familiar with – React.
In this tutorial, We’ll be going over how we can craft beautiful and compelling email templates using React Email. Follow along, and let’s get started.
Prerequisites
Node.js installed on your local machine. yarn or npm installed on your local machine (npm comes pre-installed with node). A text editor installed, e.g., VsCode. Basic knowledge of HTML, CSS, Javascript, and the terminal. Basic knowledge of React and TypeScript.
What is React Email?
React Email is a JavaScript package for building email templates using React. It consists of high-quality, unstyled components for creating beautiful email templates using React and TypeScript. Creating emails can be a pain due to the inconsistencies of table layouts and the friction that comes with building different template designs that communicate a product’s brand or desire. Here are a few advantages of building emails using React Email:
Developer Experience: The developer experience of building emails with React is unparalleled because it brings a whole new set of benefits enjoyed in React land to Email development. A number of these benefits include code maintainability, reusable components, CSS-In-JS, etc Email Clients: React Email ensures that the quirks and inconsistencies with different email clients are minimal. Modernized feel and design: React Email gives developers the flexibility and freedom to design emails with that touch of modernity, creating a memorable experience for users. Preview Server: It has a dedicated server to preview real-time changes and updates made in templates. Open-Source Community: The community's backing ensures bugs, new features, and updates will be available in due time if any arise.
Getting started
The best way to learn any new technology is by building something, which is why we’ll develop our marketing template. However, before we start, we’ll need to familiarize ourselves with some of React Email's components and building blocks.
Exploring the components
There are about 16 components offered by React Email with their functions. However, this post will only discuss a few. You can go through the rest here.
HTML– The root component that wraps the emails.Head– contains information and elements such as the emails' title, style, and meta tags.Image– is used to display an image in the email. Supported image formats for most email clients are.png,.gif, and.jpg..svgimages are not well supported. See Can I Email for more information.Button– is a link styled to look like a button.Text– is used to display text content in our email.
Customizing and styling components
Using the Style attribute
Styling in React Email can be achieved using the style attribute or tailwind classes. For example, to style a Text component using the style attribute, we can do that using the code below:

Using Tailwind
React-Email provides a Tailwind component for styling our emails using tailwind classes. This makes styling easier and more maintainable than the style attribute. It works by wrapping the component around the content of our email body. Here’s an example below:
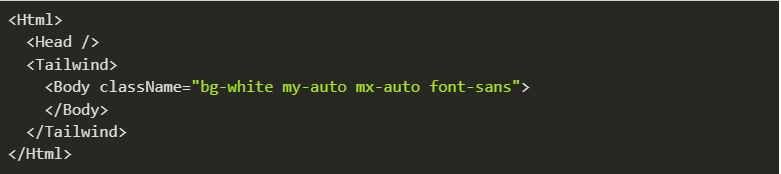
NB: Remember that some CSS styles might not work well while styling an email template. That’s because some styles' compatibility is either partially supported or incompatible. See Can I Email whenever you are unsure about a property's compatibility across email clients.
Setting up our sample template
There are two ways of setting things up:
Automatic Setup: In this approach, the development server and folder structure are created for us automatically using the create-email command. This works fine for people who want to start development as soon as possible.
Manual Setup: This is available for people who already have a project on the ground and want to integrate React Email along the way. This method also provides more control for developers and allows them to set up the installation themselves.
NB: React Email provides a dedicated development server to preview our email templates as we build and make changes in real-time. There are two ways of going about this:
-
- Separate the email server from your main development server or project, then create the template in isolation. Or
- Separate the email server from your main development server or project, then create the template in isolation. Or
-
- Set up the installation within your project, then run the email server on a separate port using concurrently.
- Set up the installation within your project, then run the email server on a separate port using concurrently.
-
We’ll be making use of the Automatic Setup in this tutorial. Now, let’s build our template💪.
Installation
Open your terminal and paste in the code below to install react-email:

This command creates a new folder called react-email-starter along with all the packages and libraries we’ll need for development. Navigate into the directory and install all dependencies by running the code below:

Once all dependencies are installed, you can now open the folder in VsCode and start the development server using the command below:

Visit localhost:3000 to access the preview once the compilation is completed.
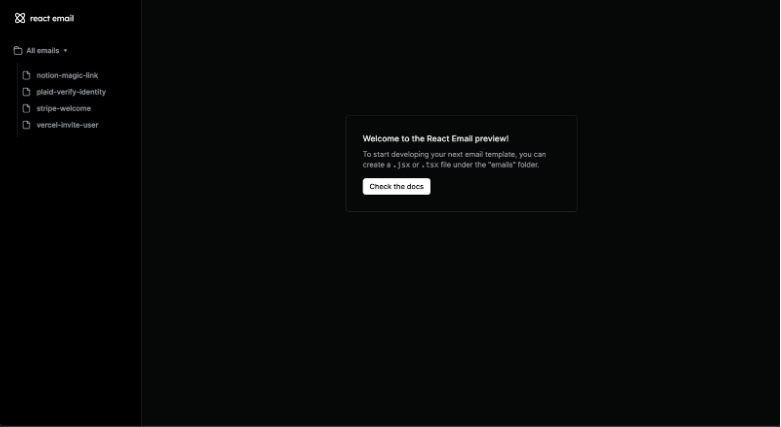
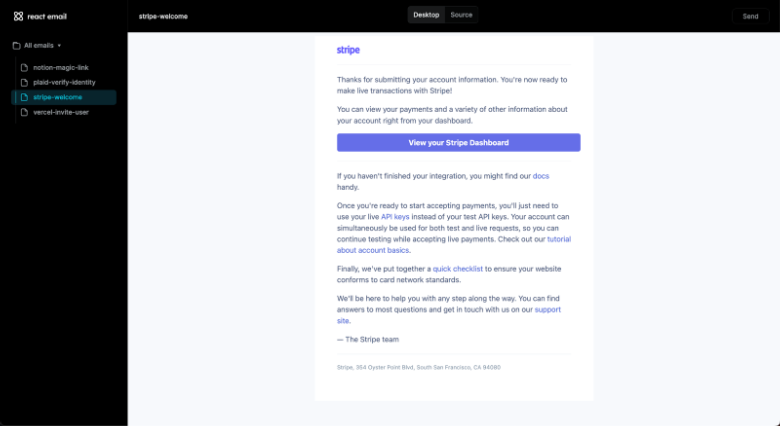
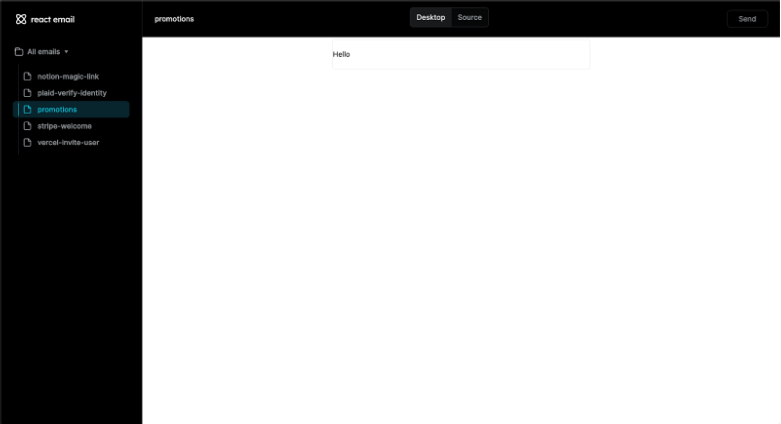
React Email has a few starter templates to help us jumpstart our template development. You can look at them by clicking on anyone in the sidebar.
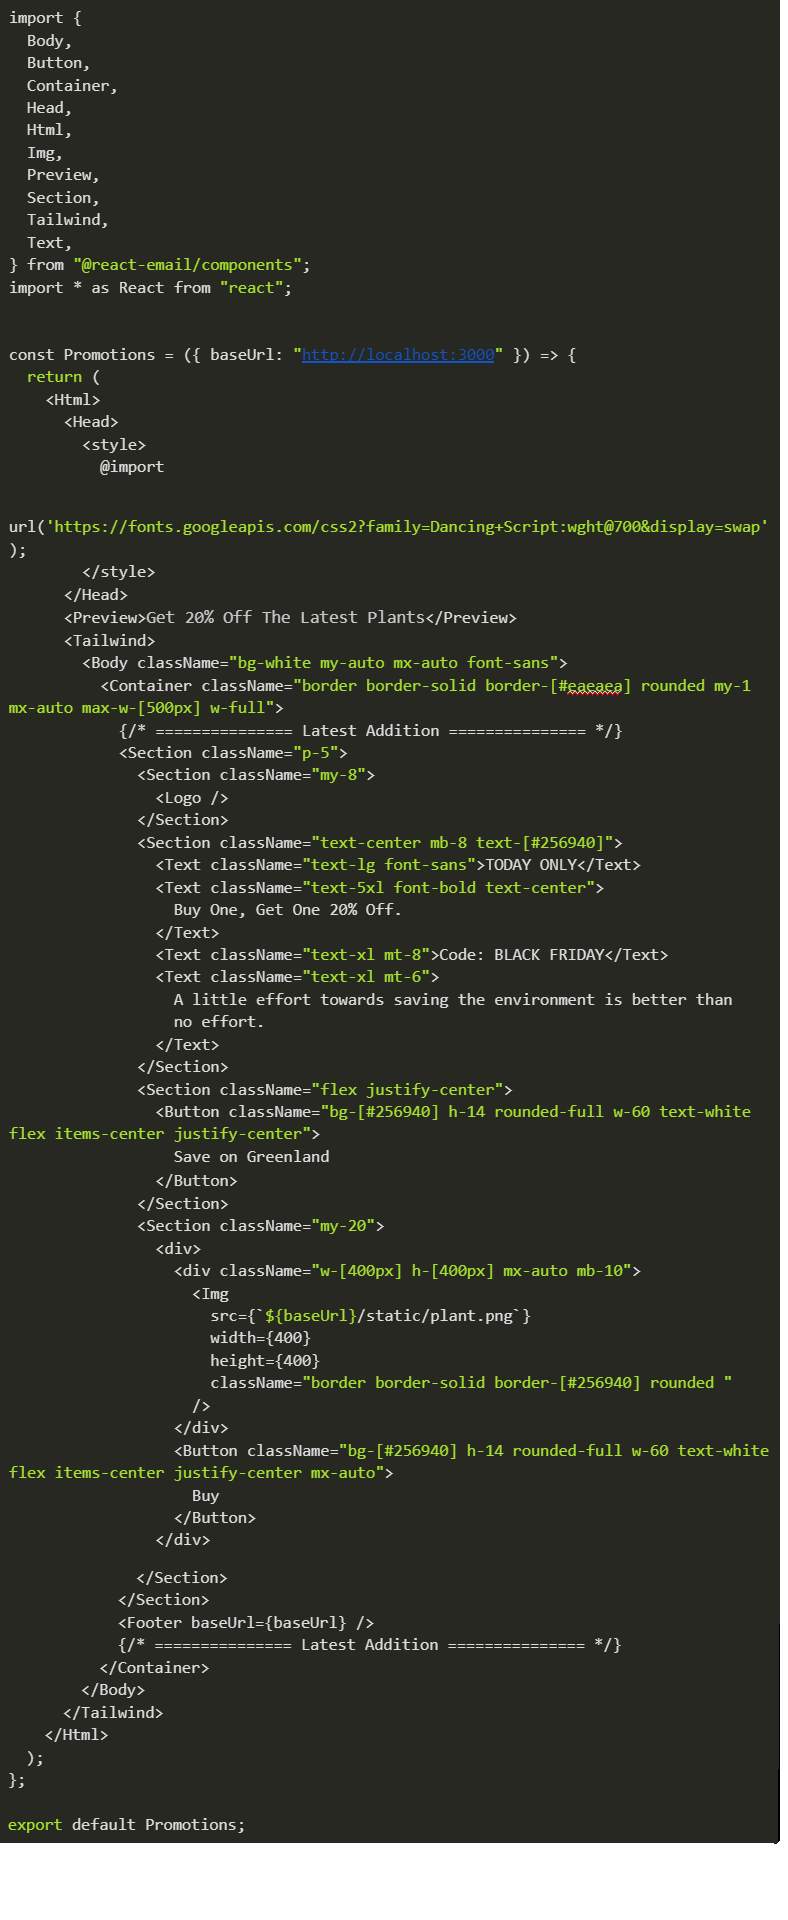
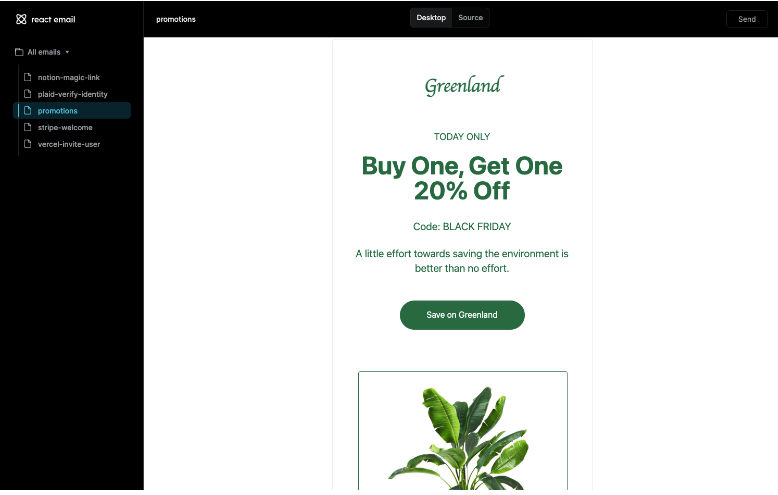
Now, locate the emails folder and create a new file named promotions.tsx. Paste in the code snippet below:
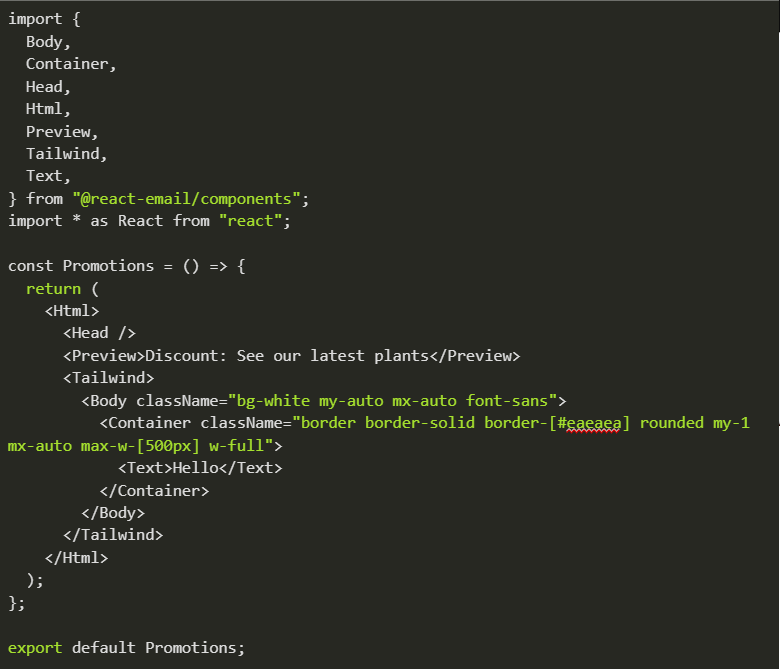
After saving the file, we should see the following result in our browser:
We’ll need some images for the template, download them here and move them into the static folder. Now, let’s update our template with the following code:
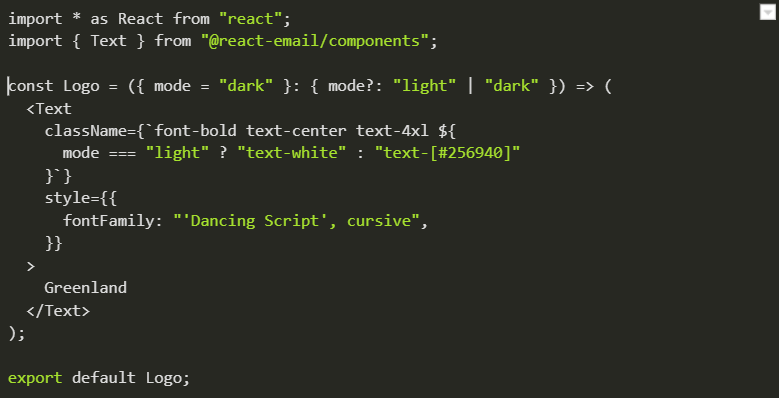
Continuing, create a components folder in the root directory, then create two new files named Logo.tsx and Footer.tsx. The two files would contain the code for our Logo and Footer, respectively.

Paste the code snippet below inside our Logo.tsx file:
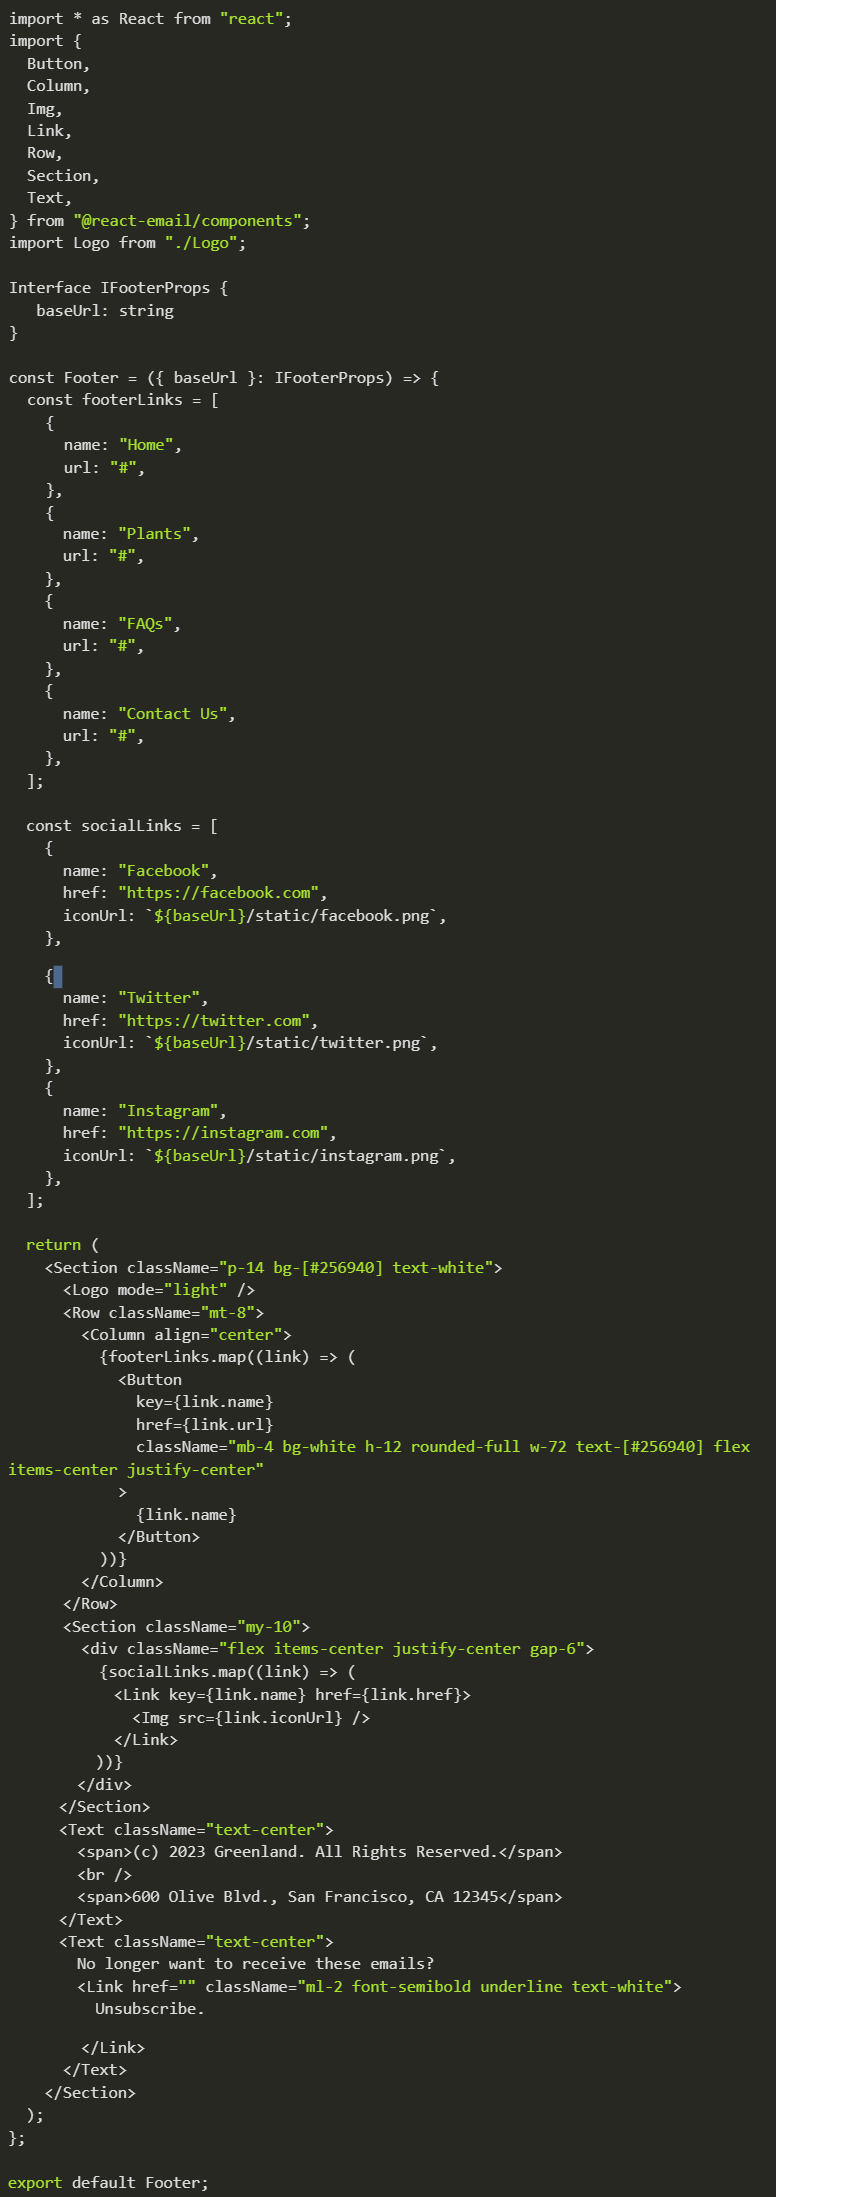
Paste the code snippet below inside our Footer.tsx file:
We need to import the two new components in our promotions.tsx file. Add the code below after the import statement:

Save all changes, and you should have the following result in your browser:
Converting the template to HTML
Our template is developed with react code, and there’s no way we can run that in the browser, nor can it run on any email client. We’ll need to convert our code to HTML or plain text format for an email client.
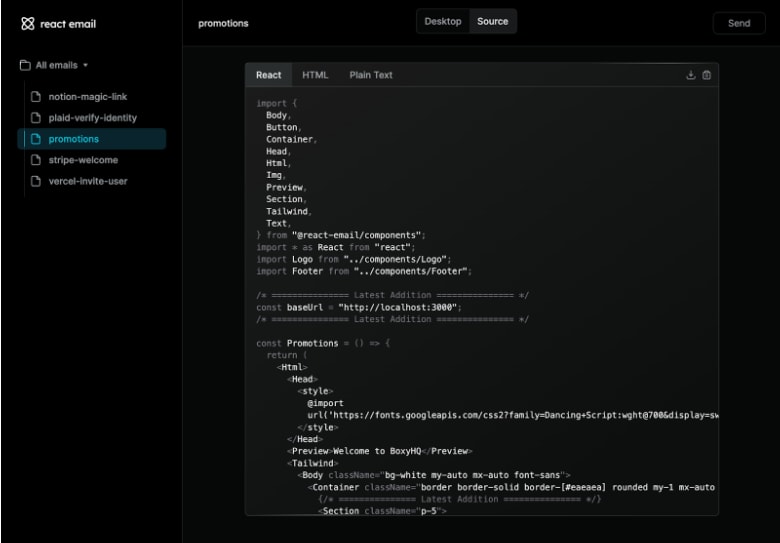
React Email makes this process seamless by helping us with the conversion automatically. Going back to our preview in the browser, you’ll notice a tab at the top where we have Desktop and Source. The Desktop tab is what we see by default, while the Source tab is where we can view the HTML output of the template and download it for any other email providers we might be using.
Locate the tab in the Navbar, then click on the source just like in the image below:
<img src="https://res.cloudinary.com/proxify-io/image/upload/v1697441920/career/images/articles-images/React%20Emails/React_Email_17.png"
alt="React Native email coding snippet 16">
You should see the template’s output below:
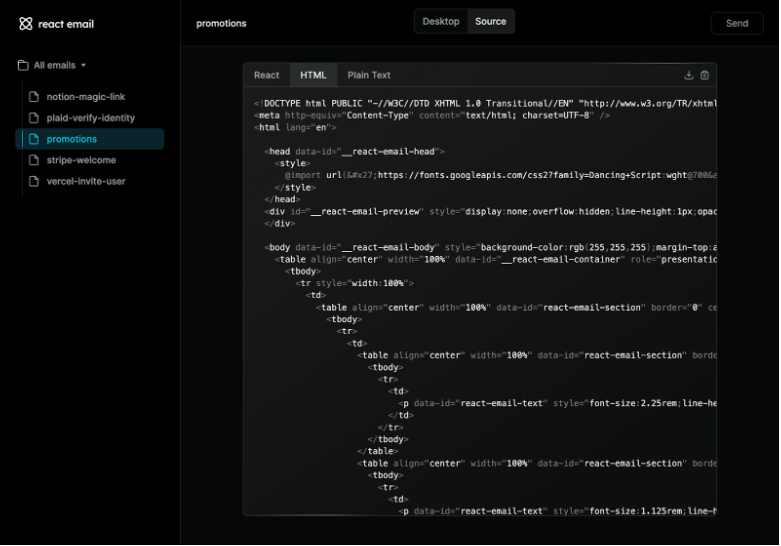
Click on the HTML Tab to view the template in HTML format.
Integrating with an email provider
React Email offers us a variety of options when it comes to email providers we can connect to. However, before we can do that, we’ll need to convert our templates made with React into an HTML string. Using the approach discussed in the previous section works fine. However, we can quickly achieve this by using the render utility provided to us by React Email. This is used underneath the hood to convert our react template into HTML string or plain text.
Our chosen email provider for this tutorial would be Nodemailer, as it’s one of the most popular used in the JavaScript ecosystem.
NB: The creators of React Email, Resend, recommend using their NodeJS SDK as the preferred email provider. It’s a fantastic package, and you are encouraged to check it out also.
Create a new folder in the root directory named server, navigate into it, and create a package.json file using the command below:

Install the following dependencies in the folder using the command:

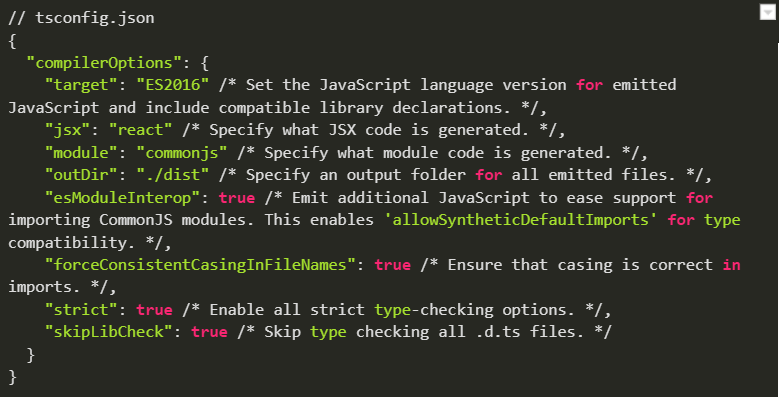
Create a typescript configuration file (tsconfig):

Copy the following configurations in our tsconfig file:
Now, let’s create the node server we’ll be using to send our emails. Create a app.ts file inside the server folder and paste in the code below:
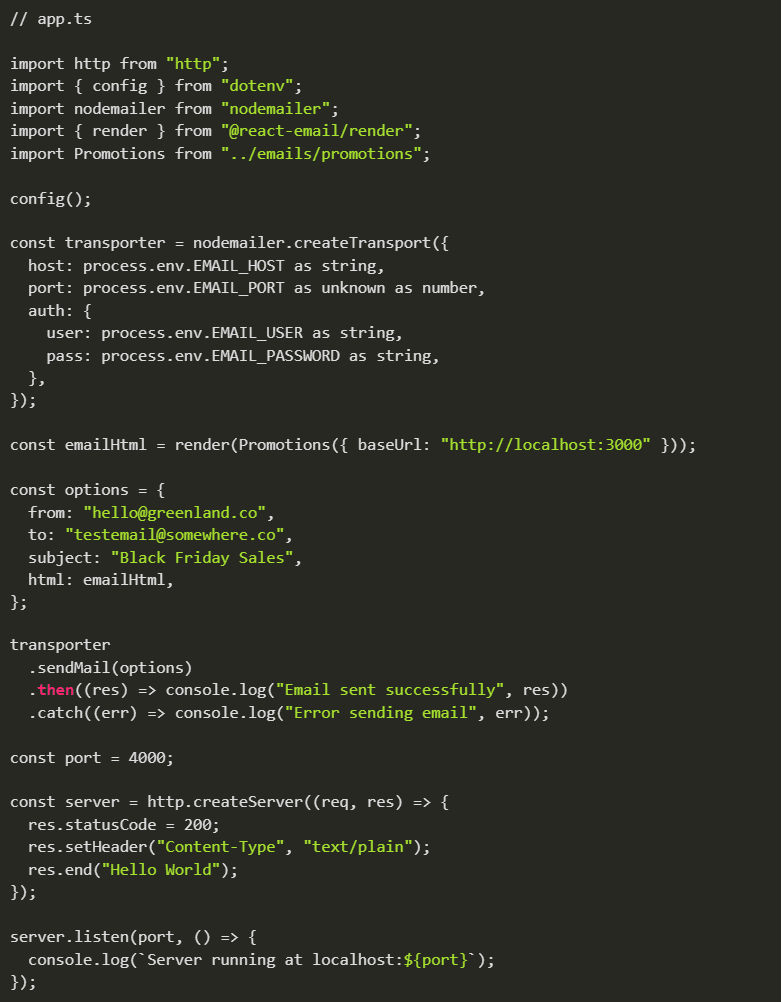
Before we can start the server, we’ll need an SMTP service that can be integrated with Nodemailer to handle the sending of our emails. Ethereal is a fake SMTP service we can use for testing during development. In an actual app, services like Sendgrid, MailChimp, or Gmail can send our users transactional or promotional emails.
Create a test account onEthereal here. Copy the credentials and add them to the environment file we’ll be creating below:

Copy and paste the credentials into the env file with their respective values.

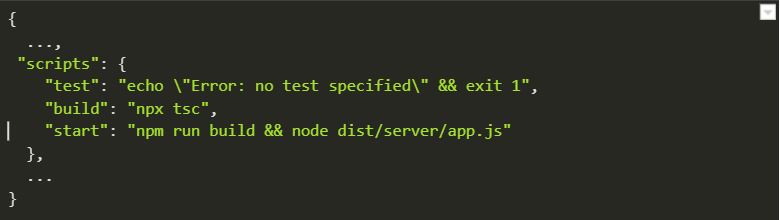
The last thing we need to do is update the scripts command in our package.json file by adding the following:
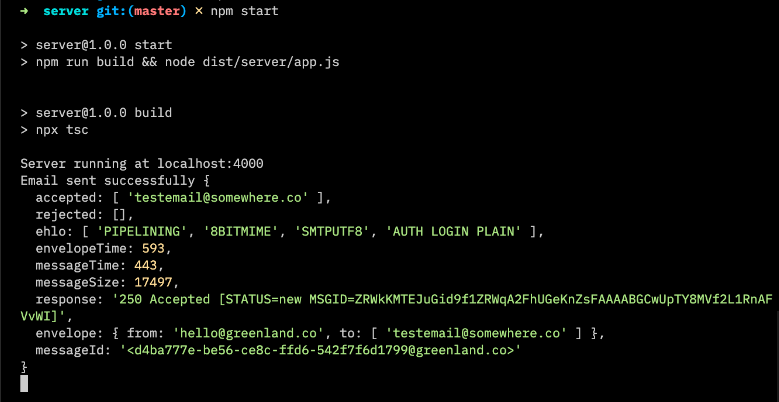
Now start the server using the command below:

You should see the following result in the terminal:
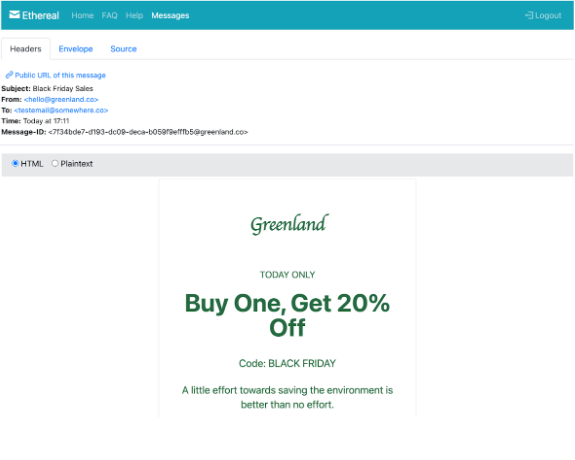
We can also view our inbox on Ethereal. It intercepts every message sent out and displays them in the Messages section.
Testing and debugging
Ensuring email templates are free from errors and inconsistencies is a crucial part of email development, so rigorous testing, simulation, and debugging should be performed before sending emails to clients. Various tools out there have been created specifically for these purposes. A few of them include Browserstack, Litmus, Testmail.App etc.
Also, Can I Email is a resource that should be accessed whenever you have doubts about the compatibility of a property or method.
Conclusion
Email development is a fundamental process for customer retention and acquisition. Businesses, individuals, corporate organizations, etc., whoever it may be, must ensure emails are well crafted and compelling to achieve the necessary engagement or response from users. With React Email, this can be achieved seamlessly and, at the same time, still maintain the developer experience enjoyed while building apps with React.
I hope you’ve found this tutorial helpful and learned how to develop and build your email templates faster with React Email.
You can find the complete code for the tutorial on GitHub.
Resources
- React-email Documentation, React-Email
- React Documentation, React Docs
- NextJS, NextJS Website
- Can I Email, Can I Email Website
"Light-- The fact that Proxify is really testing the programmers before hiring them really stood out to us, in contrast to other platforms."